Recently I decided to go back to using VSTS for my CI/CD processes after having some great experience with it on a project. As I evaluated the processes that I was following, one thing was missing from my existing CI process, and that was reporting on Unit Test Code Coverage for my .NET Core projects. I'll admit, it was something that I hadn't exactly looked at in a while. When I first started with .NET Core Code Coverage was a "Coming Later" feature and I wasn't too concerned about it. Searching for solutions I found a plethora of crazy recommendations and using the out-of-the-box VSTS build process for .NET Core did not get me what I wanted. In this post I'll walk through the process to properly get Code Coverage Calculated with each build, this will also allow the "Test" -> "Analyze Code Coverage" option to work in Visual Studio.
Project Prerequisites
The key for all of this to work is to make sure that your project is setup properly before you attempt anything. There are two things to validate, first the required NuGet packages, and the second being a modification to the csproj file to set a debug mode.
NuGet Packages
Most of my projects were ok, however, a few of my XUnit projects were missing this reference so be sure to validate that ALL of your projects have this package.
Microsoft.NET.Test.Sdk
.csproj Changes
This change needs to be made in BOTH the test project as well as the project(s) that are being tested. You should have the following property group designation at the top of your project.
<PropertyGroup%gt;
  <TargetFramework%gt;netcoreapp2.1</TargetFramework%gt;
  <DebugType%gt;Full</DebugType%gt;
</PropertyGroup%gt;
The addition for your project is the DebugType node. This is supposedly only a temporary workaround.
Validate Configuration
Before you modify any existing VSTS build setup you should validate that Code Coverage is properly working. You can test this using "Test" -> "Analyze Code Coverage" -> "All Tests." With these changes in place you should see an output of code coverage. If not, validate that the above two conditions are true for all projects.
NOTE When working with an existing project I did have one occasion where I needed to do a "Clean" before everything was able to run successfully.
Modify Your Build Task
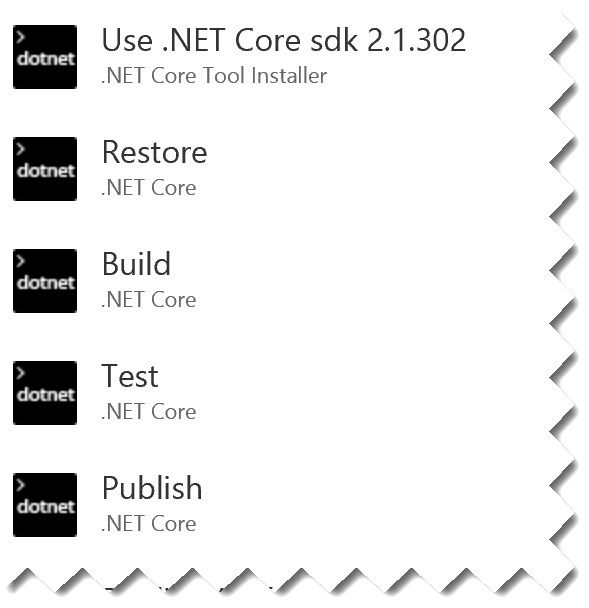 Most likely your existing build definition will follow a flow similar to this. You may have additional steps before or after these blocks, however the default project will be setup like this. Your builds should succeed without any issue, and you will properly see the pass/fail ratio for all of your unit tests. However, your unit test code coverage section will be blank with a note asking you to configure this.
The Change
You will want to delete the existing "Test" task from your project and replace it with "Visual Studio Test." This is the default test runner for Microsoft. Once added you can verify setting, for most default projects the ONLY thing to change is to check the option for "Code coverage enabled". After doing this, save & queue your build definition. Once your build runs you should see code coverage information properly reported on the homepage of your project.
Hopefully this helps someone, as all of the solutions I found were much more complicated with this. This process has been tested with .NET Core 2.1.2 as of July 17th with version 15.8 of the Microsoft Test SDK.