Azure App Services provides us with a robust set of tools and features designed to make our lives easier. One of these features is the ability to enable automatic backups of your application to Azure Blob Storage. For many situations, it is as simple as clicking configure, selecting a few options, and voila you have backups running. Although simple, you still need to follow best practices to review your logging and ensure that everything is working as expected.
Backups that "Partially Succeed"
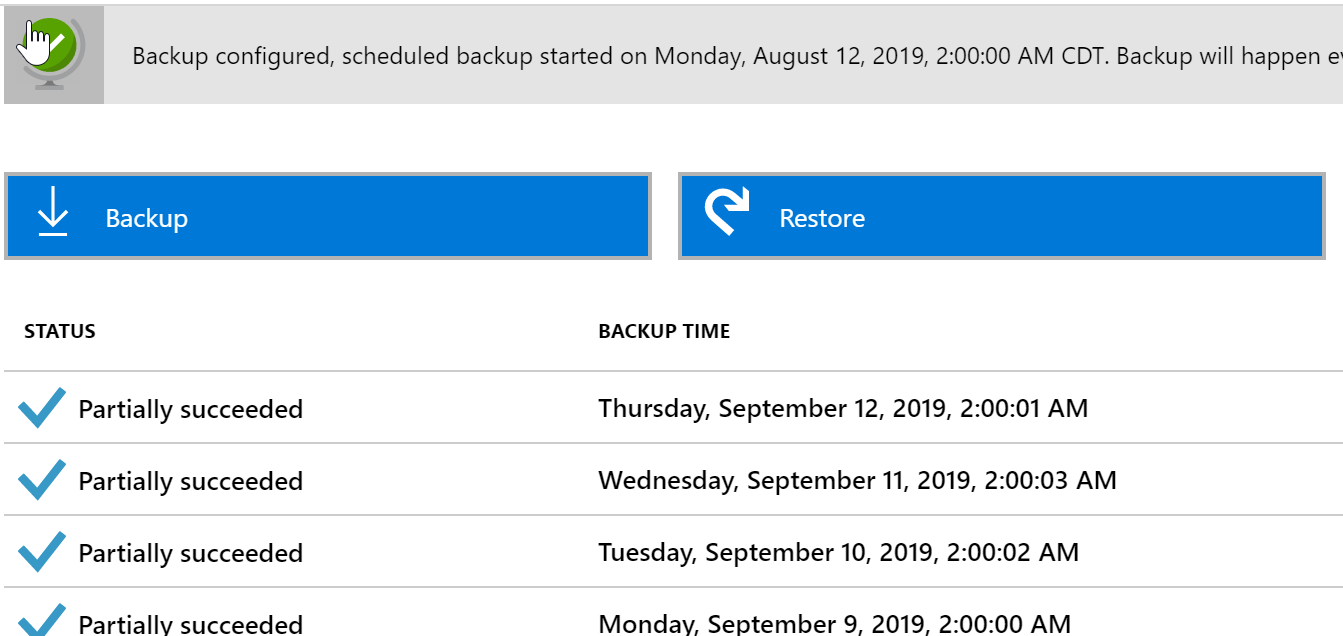
The most common issue that I encounter when working with users on backups is a backup summary screen similar to the following.
At first glance, this seems to be very alarming, as of course "partially succeeded" backups are alarming. However, what does this mean in a practical sense? It means nothing more than 1, or more files were not able to be backed up. You should NOT consider your backup as "failed" or that it isn't a valid backup. However, you SHOULD dive into the failure, and see if there is a method to fix it.
Determining What Happened
Each backup execution within Azure App service produces three files; a zip of the content, a log file with messages, and an XML file with a listing of the domain names. You must access this information using the storage account itself; you cannot quickly get to these files from within the "Backups" option within your web app.
The Log File is Key
Once you have navigated to your storage account, open the .log file, and have a peek, you will most likely see something similar to the following.
File skipped - \site\wwwroot\App_Data\Search\write.lock: Sharing violation to <SomeReallyLogPath>
In this example, we can easily see that the ONLY failure in our backup was a single write.lock file, a non-critical file; this means that all other content is there, so our backup is valid, no reason to panic! A restore of this dreaded "partially succeeded" backup would be safe, and your site would be completely operational.
Getting to a Successful Backup
Now, we know this by reviewing this information, but it is a heck of a lot easier to fix the glitch, by instructing Azure to not backup your write.lock file. With that single action, your backups would return success, every time.
Create a _backup.filter File
You can utilize a _backup.filter file to instruct Azure to skip files, or folders, as part of your backup routine. This file is a simple text file with one folder path or filename per line. For our example error, we would create a file with this single line
\site\wwwroot\App_Data\Search\write.lock
You can also use this to avoid the backup of directories that might contain additional information that you are not as concerned about, for example, those running DNN might also add \site\wwwroot\portals\_default\logs to their listing to not track log files.
Deploy The Backup Filter
Once the file is created, simply place the file in the \site\wwwroot folder and you are done! The next backup, scheduled or manual, will obtain this filter file and will skip the file(s) in question. Resulting in a successful backup with a happy/healthy green success indicator.